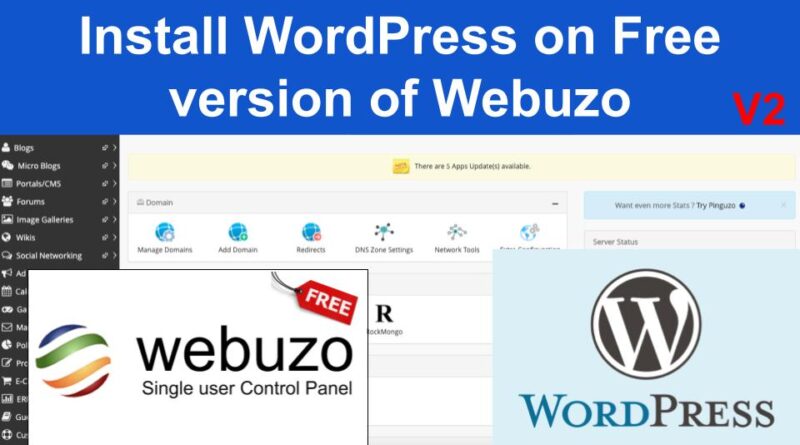
How to install WordPress on free version of Webuzo VPS control panel
Webuzo has built-in Softaculous installer which is used to easily install many scripts and apps like WordPress. But Webuzo has blocked the installation of WordPress on their free version. In this how-to, we will learn how to install WordPress on the free version of Webuzo VPS control panel.
Let’s get started. Jump to video tutorial
Let’s try installing WordPress on the free version using the built-in Softaculous installer.
On the Webuzo end-user panel (https://IP:2004), from the left side click on Blog then WordPress then Install Now. It will show you info on the top – WordPress cannot be installed on the Free version of Webuzo
Now let’s install it in another way.
- In the Webuzo end-user panel from the home page, click on File Manager, it will open file manager in the new tab. Enter file manager username and password to log in. If you don’t remember the password then you can click on Change Password in the end-user panel to set a new password
- In the file manager, click on the public_html folder then click on Upload icon then select the tab Transfer from another server
- Enter this URL –
https://wordpress.org/latest.zipand click Save. It will download the WordPress file to your server - Right-click on the latest.zip file and click on Extract Archive. It will extract the file to a new folder wordpress. If you go inside that folder it will show you all the files of the WordPress
- We have downloaded the WordPress file, now we have to create a database so that WordPress can store all the information there. From the Webuzo home page click on Add Database
- It will open a page to create database, enter the database name and click on Create
- Now we will have to create a database user so that that user can perform CRUD operation on the database. Let’s create a user, click on Add User To Database tab
- On the Create Database User section, enter new username and password and click on Create
- Now we will have to add this user to the created database and assign all permissions. From the Add User To Database section, select the newly created user and newly created database and click on Add
- It will open a popup page for permission, select all and in the Select host dropdown, select localhost because both your WordPress code and database are on the same server, then click Submit Changes
- Now copy the IP address of your Webuzo server (only IP address, no port, no other params) and open a new tab and paste it, append /wordpress/ in the URL because our WordPress files are in wordpress folder. So the full URL will look like this
http://IP/wordpress/
Enter this URL and press Enter. It will open the WordPress setup page. - Select the language of WordPress and click Continue, on the next page it will show you info on what else it requires for database connection, click Let’s Go.
- Enter the database name, username and password we just created earlier. Enter host as localhost and keep table prefix wp_, you can change it if you wish, this will prepend all the table names of your database with wp_, then click on Submit
- If it will be able to connect to your database then it will show you connections successful message with a button to run the installation. If it will not be able to connect to the database then you will have to check the database credentials that you just provided. Click on Run the installation.
- Then it will ask for the WordPress Site title and admin username and password. This username and password will be used to login into your WordPress admin panel. Enter your email in the email field. This will be used to reset password and for any important communication about your website
- Don’t select discourage search engine checkbox if you want to show your website in the search results. If you want to hide your website in the search then you can select it then click on Install WordPress
- It will install WordPress and will show you a success message once done, with a button to log in to your admin panel. Click on Log in
- Enter WordPress admin username and password and click on Log in
- It will open the WordPress admin page. Done
You have successfully installed WordPress on the free version of Webuzo VPS control panel
Here is the YouTube video incase if you do not understand
See more: